As an Amazon Associate we earn from qualifying purchases. Learn More.
You want to label your photographs with names, dates, and locations. Doing it wrong can permanently damage your photographs. You need practical advice for safely writing on both the front and back of photos. In this article, we’ll provide some useful tips for writing on photos.
Table of Contents
Tips for Writing on the Back of Photos
Here are some useful tips for photo-safe writing on the backside of photos:
Use the Right Pen
Choose a soft, fine-point, permanent pen that won’t damage the photo paper. Avoid hard-tipped pens or markers. They can leave indentations or bleed through.
Match The Pen to The Paper Type
Glossy and matte finishes require different ink types for optimal adherence. Try the pen on a small area to ensure compatibility.
Always Test First
Before writing on the actual photo, test your pen on a similar paper. This ensures that it doesn’t smudge or bleed.
Writing Technique is Important
Apply gentle pressure to avoid indenting the photo. Write slowly and steadily for clear, legible text.
Information to Include
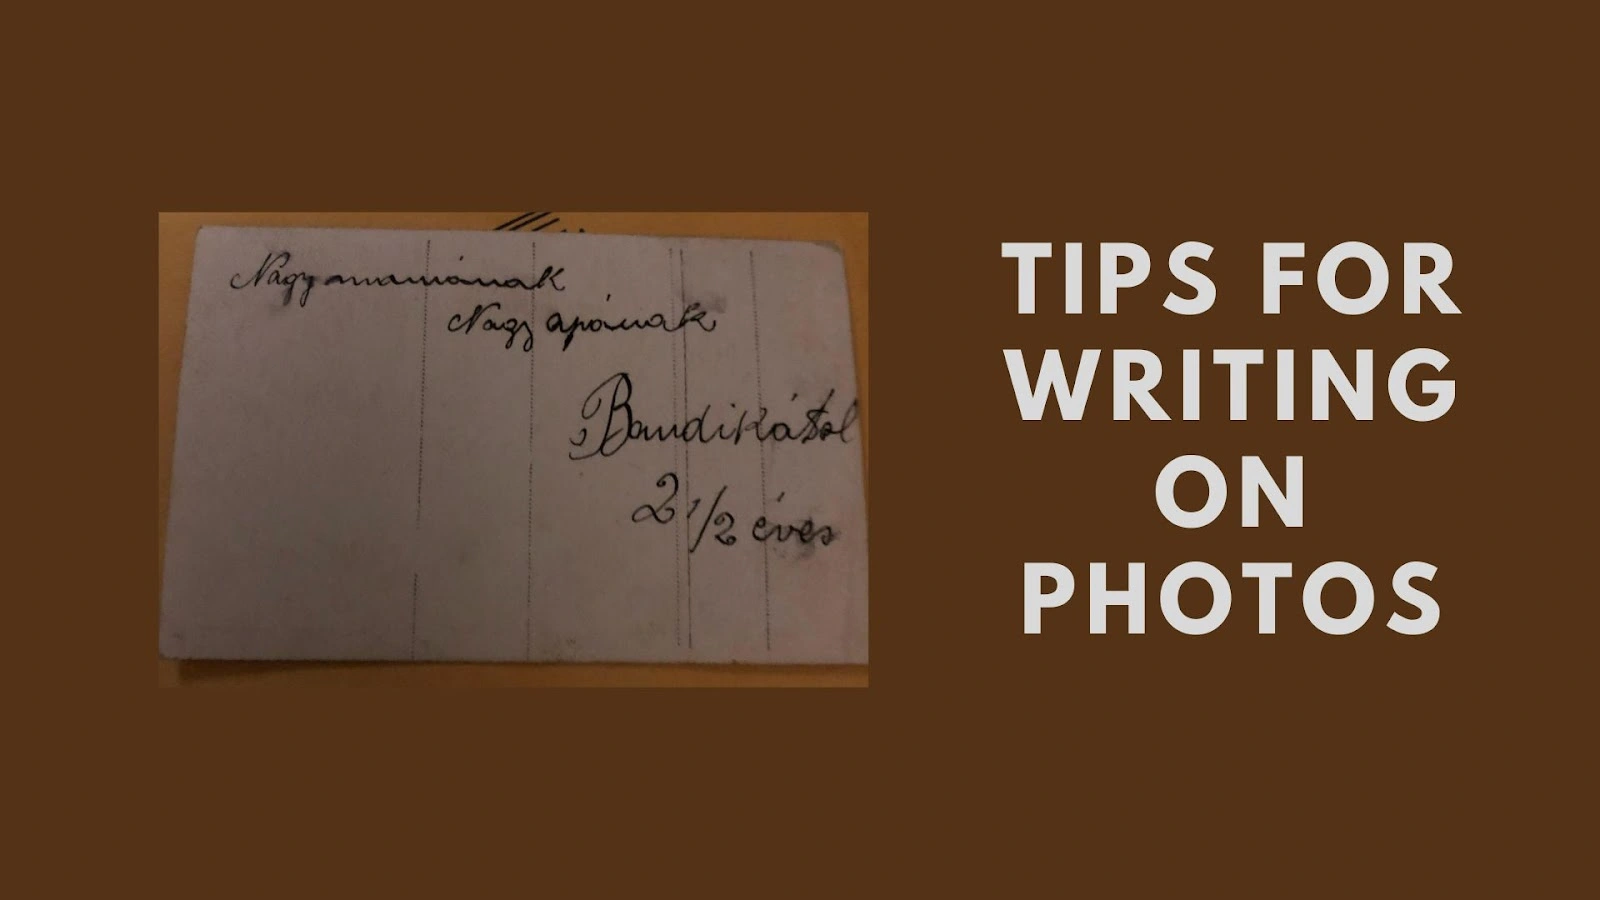
Common details to write include the date the photo was taken, the location, and the names of people in the photo. This is especially helpful for future generations looking at the photos.
Drying and Blotting
Give the ink sufficient time to set, especially on glossy paper. Gently press blotting paper on the writing to absorb excess ink. This prevents smearing and speeds up drying.
Tips for Writing on the Front of Photos
Here are some useful tips for photo-safe writing on frontside of photos:
Choose the Right Spot
Write in areas that are less important in the photo. Like the corners or edges.
Use a Non-Damaging Pen
You should opt for photo-safe pens or markers. They are designed for writing on glossy surfaces. These are less likely to damage the photo or fade over time.
Keep Your Text Minimal
Keep the writing on the front minimal. It’s usually for artistic or labeling purposes, so be concise.
Keep Your Hand Steady
Write with a steady hand. Also, avoid going over the same area multiple times. This prevents the ink from building up and becoming more visible.
Consider Caption Stickers
If you’re uncomfortable writing directly on the photo, use caption stickers. They can be placed on the front. Write on these stickers and then attach them to the photo.
Test for Smudging
As with the back, test your pen on a similar surface first. Make sure that it doesn’t smudge on the glossy photo surface.
You Need to Embrace Imperfections
Writing on the front of a photo can give it a unique, personal touch. Don’t worry if it’s not perfect; it adds character.
Long-Term Considerations
Here are also some long-term considerations:
Make Sure the Pen you choose has Archival Ink
Choose pens with archival ink to ensure longevity. This ink prevents smudging if photos get damp.
Make Sure the Ink Doesn’t Chemically React with Photo Paper
Acidic ink can damage photos over time. Acid-free options are safer. Ensure the ink doesn’t chemically react with photo paper. This can cause discoloration.
Conclusion
By following these tips for writing on photos, you can add personalized text to your photographs. These tips ensure your written additions are as enduring as they are beautiful. Remember, the words you inscribe today become the valued memories of tomorrow.
Read Now: 8 Best Pens to Write On The Back of Photos

Hi, I’m Andy Gary, the founder of Writers Need and a stationery enthusiast. I love to blog about anything regarding writing and have created lots of pages that I can now share with others!